
Painters Durbanville: How Many Coats of Paint Does a Wall Need?

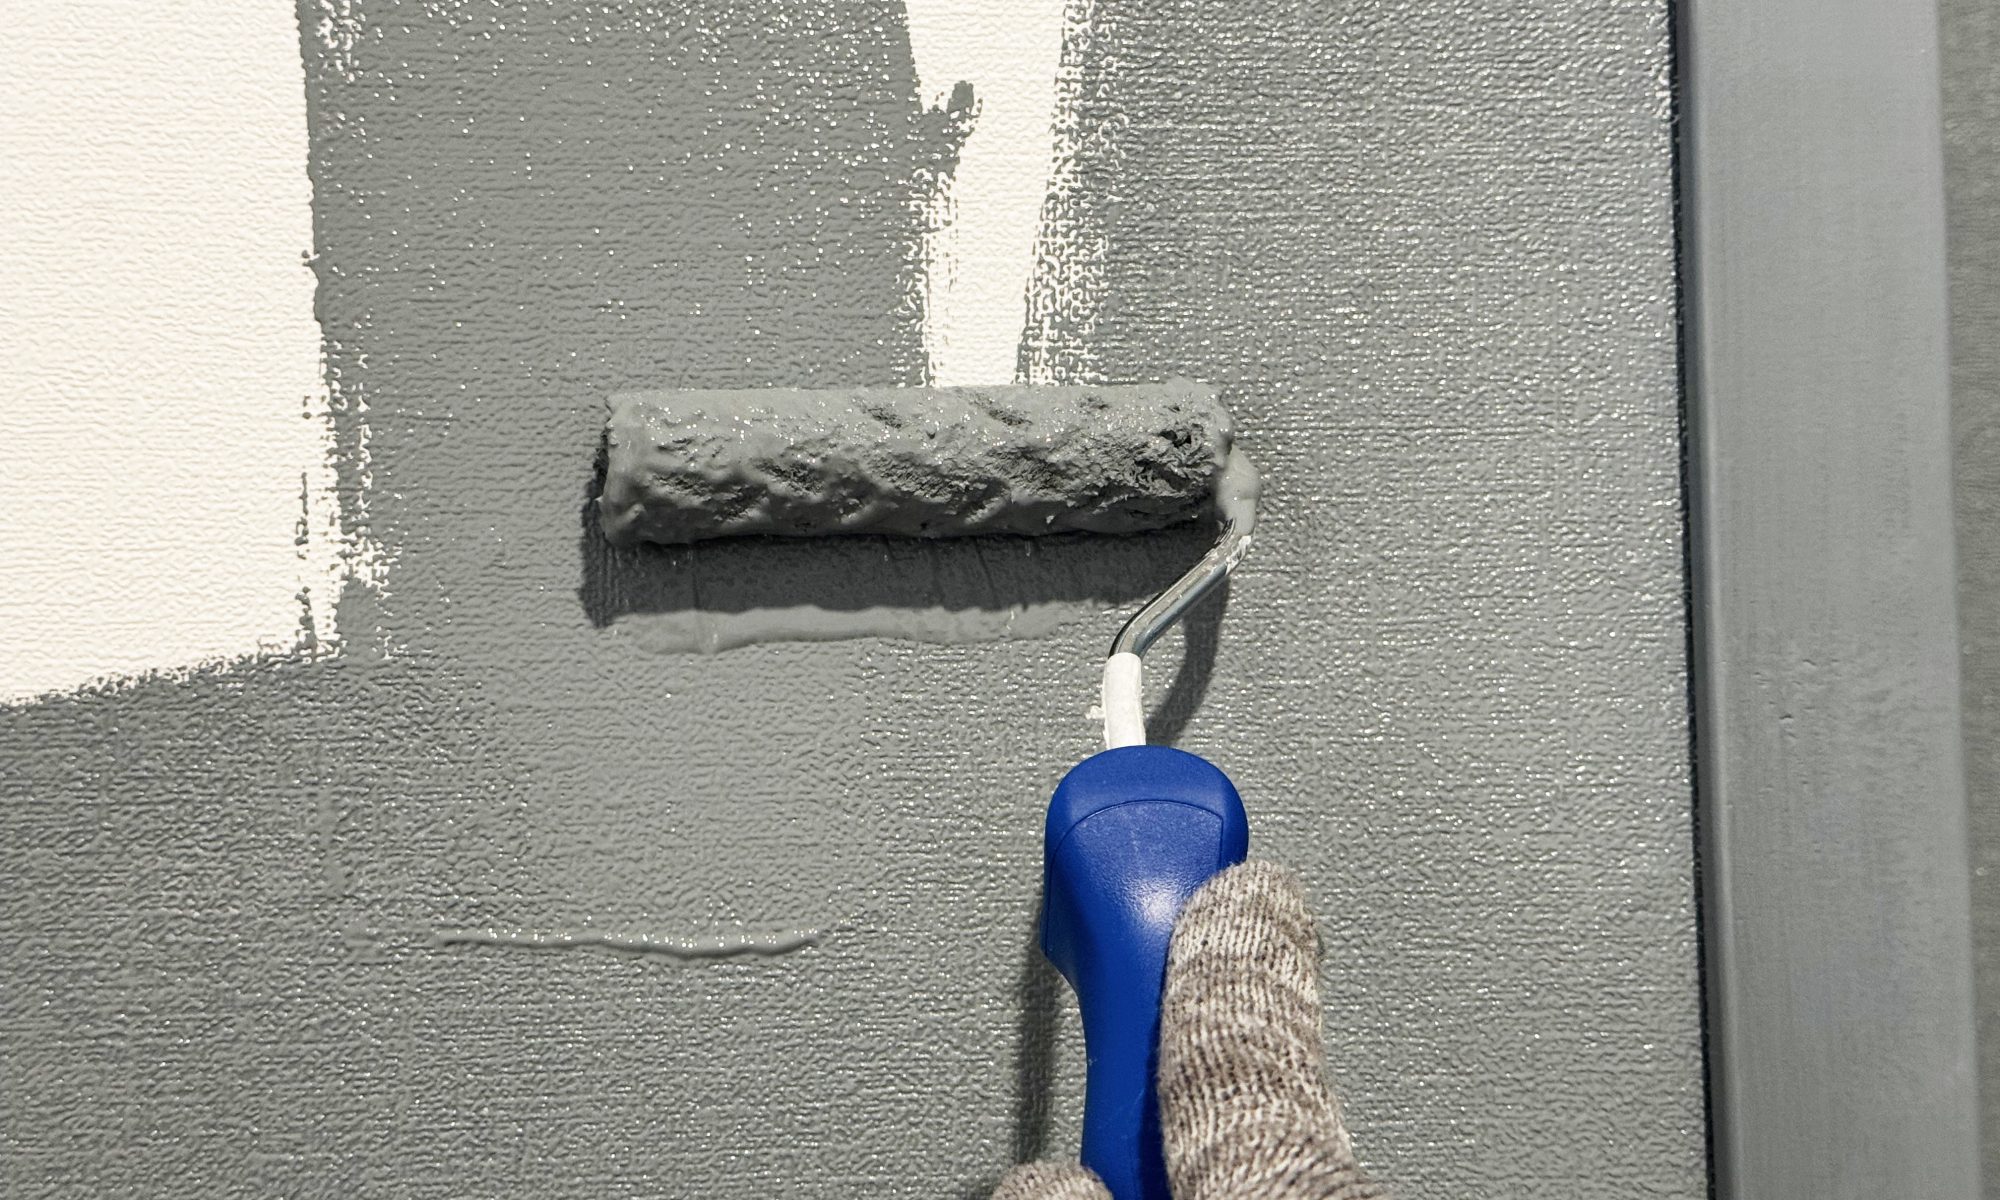
painter applying two caors of paint to a wall in Durbanville

“`html

Painters Durbanville: How Many Coats of Paint Does a Wall Need?

One of the questions our painters in Durbanville are asked most often is surprisingly simple: How many coats of paint does a wall actually need?

For most properly prepared walls, the answer is two finishing coats. However, the correct answer depends on much more than simply counting coats. The condition of the existing paint, moisture levels, plaster condition, previous colours, porosity, exposure to sunlight and rain, and the type of coating being used can all change the specification.

In some cases, two coats of topcoat over a sound existing surface are sufficient. In others, the correct system may involve preparation, a specialised primer or sealer, remedial treatment and then two finishing coats.

This guide explains how professional painters Durbanville homeowners can rely on determine the correct number of coats for interior walls, exterior walls, new plaster, dark colour changes, ceilings and moisture-affected surfaces.

The Short Answer: How Many Coats of Paint Are Normally Needed?

For a sound, previously painted wall in good condition, two coats of a quality finishing paint are normally appropriate.

For new or highly porous plaster, a suitable primer or sealer is generally required before the finishing coats.

If a wall is badly weathered, chalking, damp affected, stained, previously painted in a very dark colour or covered with a coating that has poor adhesion, additional preparation or specialised primers may be needed.

The important point is that the number of coats should never be decided in isolation. Surface preparation and the condition of the substrate are often more important than adding another coat of paint.

Why Two Coats of Paint Are Usually Recommended

The first finishing coat establishes colour, begins building the required paint-film thickness and covers the prepared substrate. Depending on the colour and surface beneath it, the first coat may still appear slightly uneven when dry.

The second coat builds colour depth, improves uniformity and helps achieve the film thickness intended by the paint manufacturer.

This is why professional painting specifications generally refer to a complete coating system rather than promising that one exceptionally thick coat will do the same job.

Applying paint too heavily can create its own problems. Correct spreading rates, drying intervals and application methods are more important than simply loading excessive paint onto the wall.

Preparation Matters More Than Simply Adding Extra Coats

A common painting mistake is trying to solve every problem by applying more paint.

If the existing coating is loose, chalky or contaminated, three coats applied over it can still fail because the weak layer underneath remains the foundation of the new system.

Professional preparation may include:

  • Washing dirt and surface contamination from walls.
  • Removing loose or flaking paint.
  • Sanding hard edges around failed coatings.
  • Repairing cracks and damaged plaster.
  • Treating mould, mildew or algae.
  • Testing questionable areas for adhesion.
  • Checking walls for moisture where damp is suspected.
  • Sealing or priming porous or exposed substrates.
  • Repairing failed sealant around windows and doors.
  • Addressing the source of water ingress before repainting.

A correctly prepared two-coat system will normally outperform several coats applied over an unstable substrate.

How Many Coats for Previously Painted Interior Walls?

If an interior wall is clean, dry, sound and being repainted in a similar colour, the usual specification is:

Two coats of a suitable interior finishing paint.

A complete primer coat may not be necessary simply because the wall is being repainted. However, repaired plaster, exposed substrate, stains or areas with questionable adhesion may require appropriate spot priming or additional treatment.

Before painting, walls should still be inspected for cracks, loose paint, nail holes, damaged corners, mould and other defects.

Changing from a Dark Colour to a Light Colour

Changing a dark navy, charcoal, burgundy or strong feature colour to white, cream or another light shade can require more work.

Simply applying repeated finishing coats is not always the most efficient approach.

Depending on the existing coating and the new colour, a suitable high-hiding or preparatory coat may help neutralise the old colour before the finishing system is applied.

The objective is not to reach an arbitrary number of coats. It is to create an even substrate so that the final colour develops consistently.

Very strong reds, yellows, blues and other highly saturated colours can also behave differently because pigment opacity varies between colours.

How Many Coats Does New Plaster Need?

New plaster should not normally be treated in the same way as an existing painted wall.

Fresh masonry can be porous and alkaline and must be sufficiently dry and cured before an appropriate coating system is applied.

A typical system could consist of:

  • One suitable masonry or plaster primer/sealer, followed by
  • Two finishing coats.

The actual primer should be selected according to the substrate and manufacturer’s specification rather than using a generic product simply because it is called a primer.

Painting plaster before excessive construction moisture has escaped can contribute to bubbling, staining, efflorescence and adhesion problems later.

How Many Coats Do Exterior Walls in Durbanville Need?

Exterior walls normally receive two full finishing coats once the substrate has been properly prepared and any required primer or sealer has been applied.

However, exterior preparation is particularly important in Durbanville because different elevations of the same house can experience very different conditions.

Walls receiving strong afternoon sun experience greater UV exposure and thermal cycling. More protected walls may remain cooler and damp for longer during winter. Garden-facing elevations can be affected by irrigation, plants and slower drying.

An exterior inspection should therefore consider:

  • Chalking or powdery existing coatings.
  • Hairline and wider plaster cracks.
  • Failed sealant around windows and doors.
  • Cracked windowsills and parapet tops.
  • Mould and biological growth.
  • Moisture-related discolouration.
  • Loose and peeling paint.
  • Boundary-wall damp.
  • Previous coating adhesion.

If these problems remain unresolved, another coat of exterior paint will not compensate for them.

Why Durbanville’s Climate Matters When Painting

Durbanville experiences hot, dry summer conditions together with the Cape’s wetter winter period. These seasonal changes affect both paint application and long-term coating performance.

Summer Heat and Direct Sun

Painting a very hot exterior wall can cause water-based paint to dry too quickly, reducing working time and making application more difficult.

Experienced painters often plan exterior work according to the movement of direct sunlight across the property rather than simply starting on whichever wall is closest.

Winter Moisture and Drying Time

Cooler winter weather increases drying times and can leave shaded walls damp for longer.

Exterior painting should not be rushed onto damp masonry simply because the weather is expected to clear later in the day.

Wind and Dust

Wind can introduce dust and debris onto freshly prepared or freshly painted surfaces. Exterior painting therefore needs sensible timing and daily assessment of conditions.

What About Damp Walls?

This is where the simple question of “how many coats?” becomes misleading.

If a wall is suffering from active damp, the answer is not automatically “add another coat”.

The source may be:

  • Rising damp.
  • A roof leak.
  • Failed waterproofing.
  • Cracked windowsills or parapets.
  • Failed window or door sealant.
  • Blocked or overflowing gutters.
  • Irrigation against exterior walls.
  • Boundary-wall moisture.
  • Water entering from behind retaining or foundation walls.

The underlying problem should first be identified and corrected as far as reasonably possible.

Specialised primers and damp-resistant coatings can form part of a remedial painting specification, but paint does not replace structural waterproofing or an effective damp-proof course.

How Many Coats Do Ceilings Need?

Most sound ceilings being repainted require two finishing coats for consistent coverage.

If a ceiling has water staining, smoke staining, nicotine contamination or another substance capable of bleeding through the new finish, a suitable stain-blocking or isolating primer may first be required.

A ceiling stain should also be investigated before painting. If it was caused by a leaking roof, plumbing problem or overflowing geyser, the source should be corrected before the decorative coating is restored.

Does Better Paint Need Fewer Coats?

Paint quality has an important effect on coverage, colour retention, washability and long-term durability.

Higher-quality products generally contain better binders, pigments and formulation technology than very low-cost decorative coatings. However, even premium paint still needs to be applied according to the manufacturer’s specified spreading rate and number of coats.

A premium product should not be expected to compensate for poor preparation.

The better question is therefore not:

“Which paint lets me use the fewest coats?”

but rather:

“Which complete preparation, primer and finishing system is correct for this wall?”

Does a Third Coat Make Paint Last Longer?

Not automatically.

If the manufacturer’s system specifies two finishing coats at the correct spreading rate, applying an unnecessary third coat is not necessarily more beneficial than completing the specified two coats correctly.

A third coat may be useful where colour coverage remains uneven or the particular colour and substrate require it, but the need should be determined by the actual project rather than used as a substitute for correct preparation.

Why Professional Painters Inspect the Wall Before Specifying the Paint

Experienced painters in Durbanville should be able to explain not only which paint they intend to use, but also what they intend to do before the tin is opened.

A useful quotation should identify:

  • Which surfaces are being painted.
  • Existing defects.
  • Cleaning and preparation requirements.
  • Crack and plaster repairs.
  • Moisture or waterproofing concerns.
  • Primer or sealer requirements.
  • Number and type of finishing coats.
  • Areas carrying coating limitations.

This gives the property owner a much clearer understanding of what they are paying for than a quotation that simply states “prepare and paint house”.

How Many Coats of Paint? Quick Reference Guide

  • Sound interior repaint in a similar colour: normally two finishing coats.
  • Major dark-to-light colour change: preparatory/high-hiding coat where required plus normally two finishing coats.
  • New plaster: suitable plaster or masonry primer/sealer plus normally two finishing coats.
  • Sound exterior repaint: preparation and any necessary primer/sealer followed by normally two exterior finishing coats.
  • Chalky or weathered exterior surfaces: additional preparation and suitable stabilising or priming treatment may be required before two finishing coats.
  • Previously painted ceiling: normally two ceiling finishing coats.
  • Stained ceiling: stain-isolating treatment where required plus finishing coats.
  • Damp-affected wall: diagnose and address the moisture source first, then specify the remedial coating system.

Frequently Asked Questions About Painting in Durbanville

Is one coat of paint ever enough?

Sometimes a maintenance coat may appear to cover an existing similar colour, but most professional decorative systems use two finishing coats to achieve consistent colour, coverage and film build.

Do I always need primer before repainting?

No. A sound, clean previously painted surface may not require complete priming. Bare repairs, porous areas, stains, chalking surfaces or incompatible coatings may require specific primers.

Do exterior walls always need primer?

Not necessarily. The requirement depends on the condition and type of the existing coating and exposed substrate. Bare, chalky, repaired or unstable areas normally require appropriate preparation and priming.

Can I paint directly over peeling paint?

No. Loose and poorly bonded coating should be removed before repainting. Otherwise the new coating may detach together with the unstable layer beneath it.

Can extra coats stop rising damp?

No. Decorative paint cannot permanently stop moisture rising through masonry where the underlying construction does not have an effective damp-proof barrier.

Why does paint bubble even after a house was recently painted?

Bubbling can result from moisture, poor adhesion, coating incompatibility, insufficient preparation or water entering through cracks, seals and other building details. The age of the paint alone does not identify the cause.

How long should I wait between coats?

Drying and recoating times depend on the specific paint, temperature, humidity and ventilation. The manufacturer’s technical instructions should always be followed.

Can painters apply a second coat while the first coat is still slightly wet?

No. Applying another coat before the specified recoating interval can interfere with proper curing and final film performance.

How many coats should a boundary wall receive?

The finishing system may still include two coats, but boundary-wall durability depends heavily on moisture entering from the ground, garden beds or the opposite side of the wall. Additional coats cannot eliminate an unresolved damp source.

How do I choose painters in Durbanville?

Look beyond the final price. A professional quotation should explain preparation, repairs, primers, coating systems, number of coats, moisture concerns and relevant limitations. The contractor should be able to explain why each stage is necessary.

For More Information on Painting in Durbanville, Head Over to the Following Sites

The following resources provide additional information about painting, surface preparation and professional painting services in Durbanville:

Final Thoughts from Painters Durbanville

For most walls, two correctly applied finishing coats remain the normal professional standard. But the number of coats is only one small part of a durable paint job.

The condition of the plaster, existing coating, moisture levels, cracks, contamination, colour change, environmental exposure and correct primer system all influence the final specification.

This is particularly important on Durbanville exteriors, where summer sun, winter rainfall, garden moisture, boundary walls and different wall orientations can create very different conditions around the same property.

A durable repaint therefore starts with a proper inspection and preparation specification—not with a decision to simply apply another coat.

If you are planning an interior or exterior repaint, visit Durbanville Painters for professional painting advice and a detailed quotation based on the actual condition of your property.

“`
Hidden Costs of House Painting in Stellenbosch (2026)

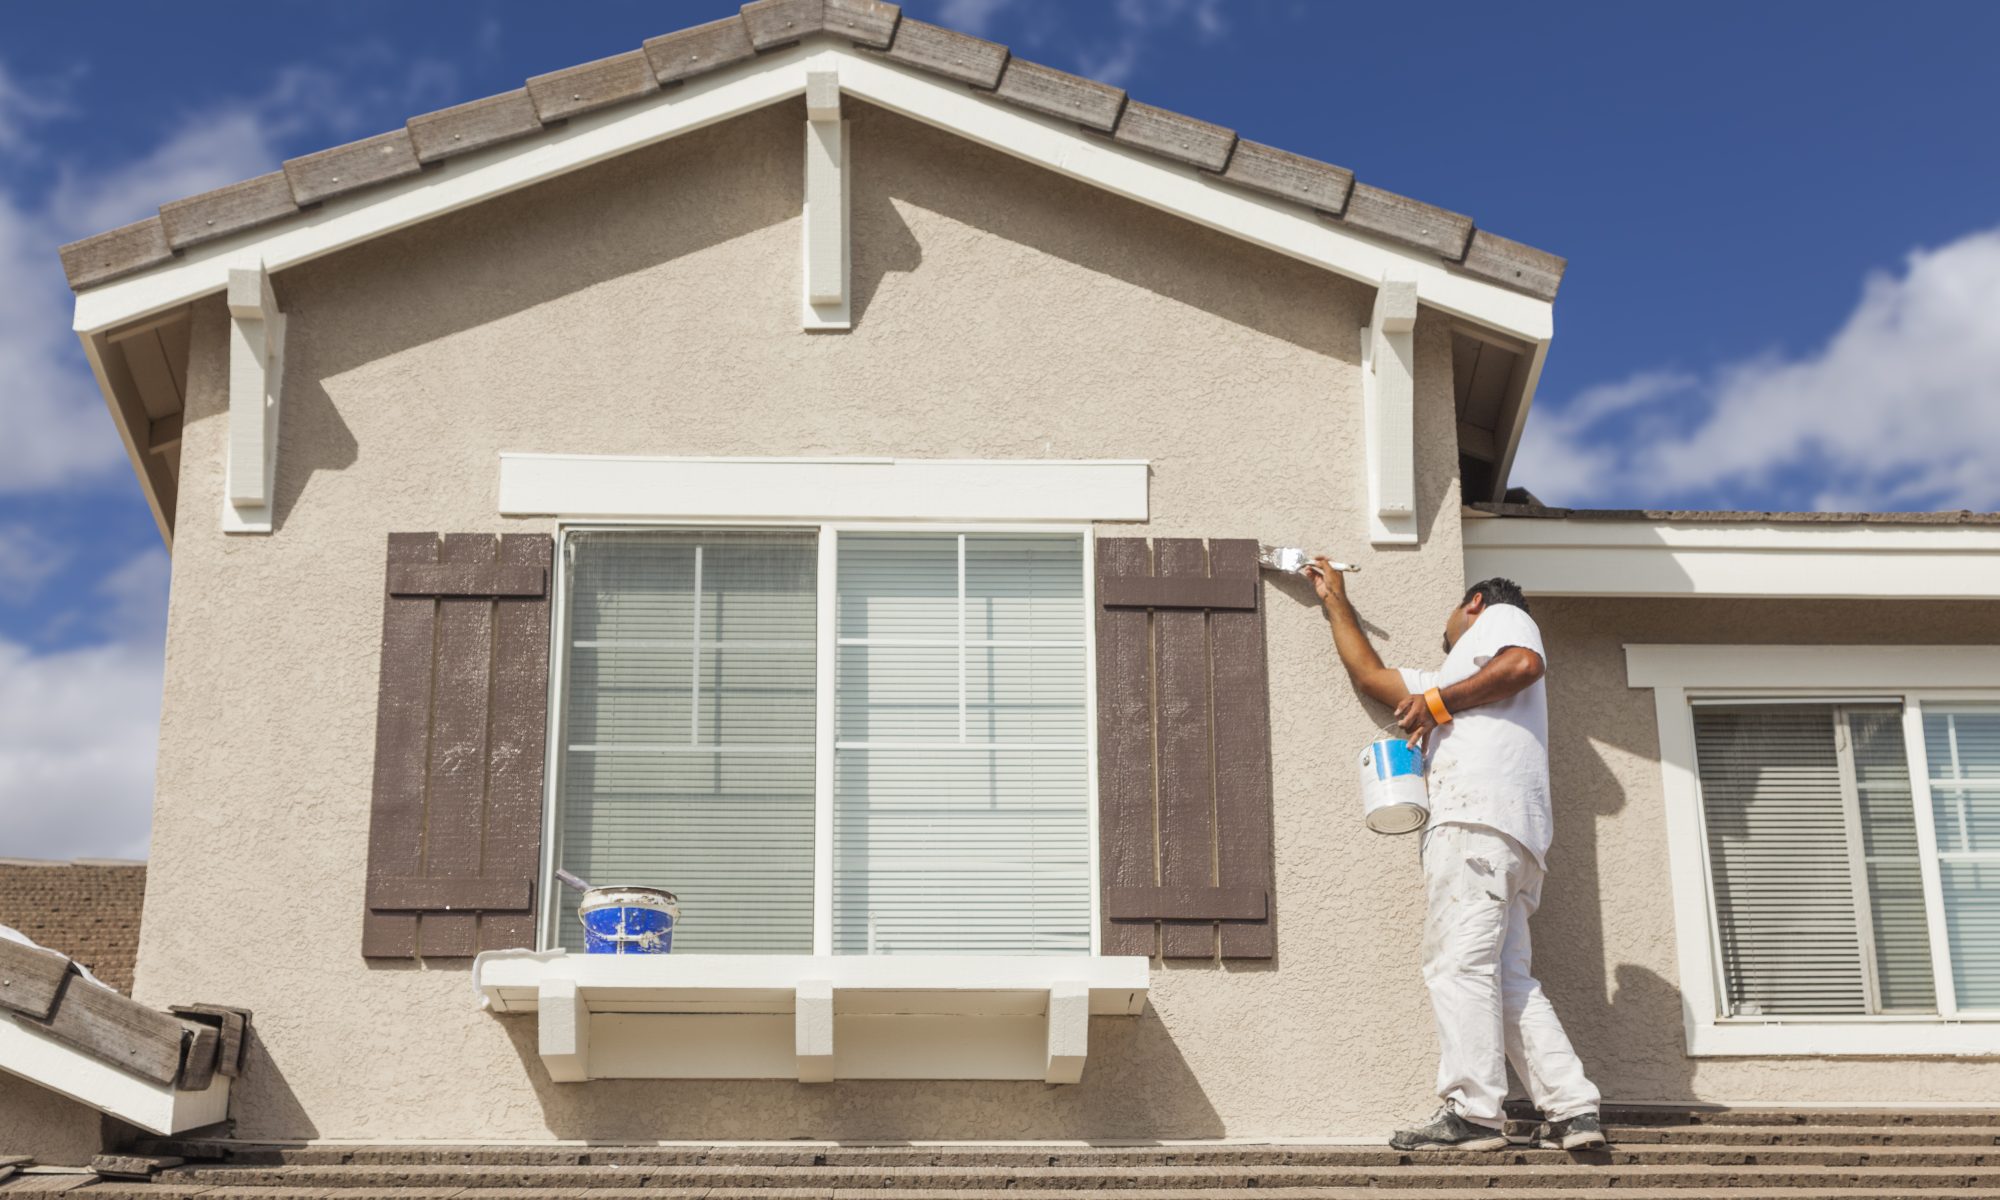
Busy House Painter Painting the Trim And Shutters of A Home in Stellenbosch.

What Painters in Stellenbosch Won’t Always Mention: The Hidden Costs of a House Paint Job

Getting your Stellenbosch home repainted feels straightforward at first. You get a quote, you agree on a price per square metre, and you assume that number covers the whole job. In reality, most homeowners in Stellenbosch and the surrounding Winelands — from Dalsig and Mostertsdrift to Paarl and Franschhoek — discover that the final invoice ends up 20% to 45% higher than the original estimate.

This isn’t necessarily because painters are being dishonest. It’s because a basic quote usually reflects a best-case scenario: clean walls, good weather, and no surprises underneath the surface. Older Cape Dutch and Victorian-era homes in Stellenbosch’s historic centre rarely fit that description. Below is a breakdown of the costs that tend to get left out of the first conversation, so you can budget properly before hiring painters in Stellenbosch.

Why Stellenbosch Homes Are Prone to Hidden Painting Costs

Stellenbosch’s mix of old oak-lined heritage properties, modern estate housing, and wine-farm cottages means no two paint jobs are the same. Add the Cape’s wet winters, hot dry summers, and proximity to the mountains, and you get a climate that’s tough on exterior coatings. A quote written without a proper site visit often can’t account for any of this.

1. Wall and Surface Preparation

Preparation is the single most underestimated line item. Many entry-level quotes assume your walls are smooth, dry, and free of damage — which is rarely true for homes older than 15 years.

What preparation usually involves

  • Scraping and sanding flaking or bubbling paint
  • Pressure washing to remove dirt, algae, and chalking
  • Filling cracks, hairline fractures, and holes with plaster or filler
  • Treating mould, mildew, and damp staining common after Stellenbosch’s rainy months
  • Skimming uneven or textured plaster before painting

Thorough prep work can add anywhere from R25 to R65 per square metre on top of a basic labour rate. On a heritage home with plaster cracking or peeling paint layers, this stage alone can double the labour cost of the project. Ask any reputable painters in Stellenbosch for a written breakdown of exactly what prep is quoted — and what happens if more is discovered once work starts.

2. Primer and Paint Quality

Not all paint is created equal, and this is where budget quotes often cut corners. A cheaper quote may specify a single coat of a basic acrylic emulsion with no primer, while a proper job typically needs a primer coat plus two to three top coats, depending on the surface and colour change.

Where the extra spend goes

  • Specialist primers for bare plaster, dark-to-light colour changes, or stained walls
  • UV-stable, weather-resistant exterior paints suited to the Cape’s intense summer sun
  • Mould-resistant formulations for shaded or damp-prone walls
  • Premium brands such as Plascon and Dulux, which cost more per litre but last considerably longer

Paint and primer can make up close to half the total project cost. Spending more here isn’t wasted money — a premium exterior coating in Stellenbosch’s climate can last 8 to 10 years, while a budget product may need redoing within 3.

3. Scaffolding and Height Access

Many Stellenbosch properties — particularly double-storey homes, farm-style houses with high gables, or properties with steep, sloped sites — need scaffolding or a cherry picker to safely reach exterior walls and gutters. This is almost never bundled into a basic quote.

Depending on the height, duration, and complexity of the job, expect scaffolding or lift hire to add somewhere between R3,500 and R18,000. Reputable painters in Stellenbosch will also factor in fall-protection equipment and insurance for working at height, which safety-conscious contractors won’t skip, even if it adds to the price.

4. Damp, Rising Moisture, and Waterproofing

Stellenbosch’s wet winters and its position near the mountains make rising damp, condensation, and water ingress a genuine risk — especially for older homes with solid brick or stone foundations and limited damp-proofing. Painting directly over a damp wall almost always fails within a year or two, meaning you pay for the same wall twice.

Damp-related costs to plan for

  • Chemical damp-proofing injections or membrane treatments
  • Replastering sections affected by moisture damage
  • Mould-killing washes and breathable, damp-resistant sealants

Depending on severity, waterproofing repairs in Stellenbosch homes can range from R6,000 to R22,000. A proper pre-paint inspection should flag these issues before a single tin of paint is opened.

5. Protecting Floors, Furniture, and Gardens

Drop sheets, masking, and plastic sheeting take time to set up properly, and rushed jobs often skip proper protection. On properties with wooden floors, vineyards, or established gardens — common across Stellenbosch’s residential estates — this can be costly to get wrong.

Watch out for extra costs if you need to:

  • Hire removalists to shift furniture out of the way
  • Pay for specialist cleaning after paint splatter on floors or surfaces
  • Repair or replant landscaping damaged during exterior work

6. Ceilings, Trims, Doors, and “Extra” Surfaces

Standard quotes often price walls only, treating ceilings, cornices, skirting boards, window frames, garage doors, and Wendy houses as separate line items. Ceiling work is physically demanding and slower, while trim work requires finer brushes and more careful cutting-in.

On larger open-plan Stellenbosch homes, these “extras” can add 15% to 35% to the final bill. Always ask your painter to confirm, in writing, exactly which surfaces are included.

7. Weather Delays and Seasonal Pricing

Painting exteriors during the wrong season is a common — and costly — mistake in Stellenbosch. Painting during the rainy winter months risks poor adhesion, bubbling, and mould setting in before the paint has cured. Rain delays can also stretch out scaffolding hire periods, quietly increasing your total cost.

On the flip side, booking during peak summer season (when everyone wants their home painted before the festive season and harvest events) can mean higher demand pricing and longer waiting lists.

8. Clean-Up and Site Restoration

A professional finish includes removing paint tins, solvents, and offcuts responsibly, plus washing brushes and equipment away from stormwater drains. Budget operators sometimes leave this out, which means you’re left arranging your own clean-up — or paying extra afterwards to restore a garden or driveway disturbed by scaffolding.

9. VAT, Insurance, and Payment Structure

Always confirm whether a quote is VAT-inclusive (currently 15%). Some contractors quote excluding VAT purely to appear more competitive on paper. It’s also worth checking that your painter carries public liability insurance and Compensation for Occupational Injuries and Diseases (COID) cover — smaller, uninsured operators can leave you financially exposed if there’s an accident on site.

Be cautious of large upfront deposits above 50%, or contractors who insist on cash only. A staged payment plan tied to project milestones, backed by a written contract, is the safer route.

10. The Real Cost of Cheap Paint and Rushed Work

The most expensive “hidden cost” isn’t a line item at all — it’s a poor-quality job that fails early. A budget paint job might need redoing in two to four years, while a properly prepared, premium job can last eight to ten. Over a decade, cheap work often ends up costing more than paying properly the first time.

How to Avoid Being Caught Out

  • Get at least three to five detailed, itemised quotes from painters in Stellenbosch familiar with local homes and climate conditions
  • Insist on an in-person site inspection before any quote is finalised
  • Ask directly: What preparation is included? Is scaffolding priced separately? Has damp been checked? Is VAT included?
  • Prioritise quality and reputation over the lowest number on the page
  • Ask for references or recent examples of work completed in Stellenbosch
  • Set aside a contingency budget of 20% to 40%, especially for older properties or full exterior repaints

Frequently Asked Questions

How much do painters in Stellenbosch charge per square metre?

Rates vary depending on prep work, paint quality, and property type, but homeowners should budget for a wide range once preparation, primer, and extras are factored in — not just the base labour-and-paint quote.

Why did my painting quote end up so much higher than expected?

Usually because of unbudgeted surface preparation, damp repairs, scaffolding, or “extra” surfaces like ceilings and trims that weren’t included in the original number.

Is it worth paying more for premium paint brands?

In Stellenbosch’s climate — strong UV exposure in summer, damp winters — premium UV- and mould-resistant paints typically outlast budget options by several years, making them better value over time.

For More Information on Painting in Stellenbosch, Head Over to the Following Sites

Final Thoughts

A house paint job in Stellenbosch is about far more than colour choice. Preparation, weather, access equipment, damp treatment, and paint quality all shape the true cost of the project — and skipping any of them tends to cost more in the long run, not less. Ask the right questions upfront, get proper written quotes from experienced painters in Stellenbosch, and budget a realistic contingency so your project stays on track from the first coat to the last.

Ready to get started? Measure your spaces, photograph any damp patches or cracks, and reach out to a few reputable local painters for a proper on-site quote before you commit.

Commercial Epoxy Floor Covering Solutions

Epoxy Flooring Specialists Cape Town welcomes you to discover our solutions for business epoxy floor covering. We are a neighborhood firm that focuses on all kinds of flooring solutions for residential, industrial, and industrial demands. We give personalized flooring for vinyl, ceramic floor tile, laminate, wood, concrete, concrete, and also other flooring kinds. As our name mentions, we concentrate on epoxy floor covering systems, yet we likewise focus on other flooring services for the business sector.

epoxy flooring

Better, our skilled professionals have the know-how to demolish and install new flooring systems ourselves. Often, to develop the flooring system that the client wants, we have to destroy the old flooring– there’s simply no other way around it often! The good news is that you don’t need to do it yourself or hire an independent crew to do that task for you. Epoxy Finishing Specialists supplies thorough industrial flooring options, managing all tasks of the job from A to Z.

https://www.youtube.com/watch?v=vKDId2FFQXM

We Give Budget-friendly Commercial Epoxy Floor Covering Solutions

Additionally, if you obtain a couple of quotes from different floor covering remedies firms, you’ll rapidly uncover that Epoxy Finishing Specialists uses very affordable costs and a vast option of major brand names. We comprehend that you’re most likely to need to live with your flooring for years to come– great or bad– and that is why Epoxy Coating Specialists takes our duty to give exceptional craftsmanship and also small cost really seriously.

Get in touch with a Specialist Regarding Your Industrial Flooring Options

If you have not come across us before, we invite you to give us a call as well as review your project, and also we’ll look at every one of the information with you and explain your alternatives. With any luck, you will not have to discover that hard way that selecting the best firm to install your flooring option is just as essential as selecting the best flooring covering.

Our customers value that we make ourselves extremely available before, throughout, and after the job. When you have concerns, you want answers, as most of us do! This is specifically real of our provider! Epoxy Finishing Specialists is proud to point out that a lot of our new clients originate from word of mouth, which suggests that we acquire a lot of our business by doing magnum opus and then obtaining referred by our completely satisfied customers. Part of earning our customers’ count on and recommendations involves giving stellar assistance, as well as you can depend on us to do simply that when you get us for your industrial floor covering task.

Corrosion protection of structural steelwork

Corrosion protection of structural steelwork

Corrosion protection of structural steelwork Western Cape

Cost effective corrosion protection of structural steelwork should present little difficulty for common applications and environments if the factors that affect durability are recognised at the outset.

There are many steel structures that have continued in use satisfactorily for many years even in adverse conditions. The first major iron structure, the bridge in Coalbrookdale UK, has survived over 200 years whilst the Forth rail bridge over 100 years old is legendary. Today, modern durable protective coatings are available which, when used appropriately, allow extended maintenance intervals and improved performance.

The key to success lies in recognising the corrosivity of the environment to which the structure will be exposed and in defining clear and appropriate coating specifications. Where steel is in a dry heated interior environment the risk of corrosion is insignificant and no protective coating is necessary. Conversely, a steel structure exposed to an aggressive environment needs to be protected with a high performance treatment and may need to be designed with maintenance in mind if extended life is required.

The optimum protection treatment, which combines appropriate surface preparation, suitable coating materials, required durability and minimum cost, is achievable using modern surface treatment technology.

Before proceeding with this article, visit the following pages for more information on Corrosion protection of structural steelwork.

Twitter, Facebook, LinkedIn, YouTube, Google, Pinterest, Tumblr 1, Tumblr 2, Instagram, Discuss, Slideshare, Dailymotion, Behance, Diigo, About me, Whattpad, Authorstream, Pearltrees, Google Maps, Tumblr 3, WordPress 1, WordPress 2, Blogspot 1, Blogspot 2, Weebly 1, Weebly 2, Wix 1, Wix 2, Webs 1, Webs 2, Issuu, Xing, Skyrock 1, Yola 1, Yola 2, Hotfrog, Expressdirectory, Bizcommunity, Bestdirectory, SAYellow, Homeimprovements

What makes corrosion happen

The corrosion of structural steel is an electrochemical process that requires the simultaneous presence of moisture and oxygen. In the absence of either, corrosion does not occur. Essentially, the iron in the steel is oxidised to produce rust, which occupies approximately 6 times the volume of the original material consumed in the process. The general corrosion process is illustrated here.

As well as general corrosion, there are various types of localised corrosion that can also occur; bimetallic corrosion, pitting corrosion and crevice corrosion. However, these tend not to be significant for structural steelwork.

The rate at which the corrosion process progresses depends on a number of factors relating to the ‘micro-climate’ immediately surrounding the structure, principally the time of wetness and the atmospheric pollution level. Because of variations in atmospheric environments, corrosion rate data cannot be generalised. However, environments can be broadly classified, and corresponding measured steel corrosion rates provide a useful indication of likely corrosion rates.

To learn more, visit this page

Topic: Corrosion protection of structural steelwork

Planning Construction Of New Home


planning your home

For most people the idea of building a new home seems like climbing a very steep mountain. They know that once the peak has been reached the view will be worth it but they seem fixated on the trip up there. For these people there is an old saying. When asked, How do you eat an elephant? The answer is, A teaspoon at a time.

Like any other big project new home construction is actually a multitude of small operations that fit together much like a puzzle. The end result is a beautiful shelter that provides heat, water, lights and sewage disposal in a safe and functional manner. A residential builder has to have all these items have to be in place in order for the unit to receive the occupancy permit.

Planning

During the boom in home building after World War II most homes in subdivisions were cookie-cutter types. The trim and other decorations were different with each home but the basic shell and layout were identical. Because the workmanship and materials were excellent these homes are in great shape over fifty years later.

Today most people who want to build look for a custom home and builders are constantly working with new and different home plans. The great thing about a buying a set of home plans from an established home designer is that all the aspects in the blueprints have been tried and tested. It’s like using the cookie-cutter approach that worked many years ago and the various contractors are following something that has worked dozens of times before.

Read more

You can also visit us here to learn more.

  • Many other surrounding areas

Painting Tips for Beginners

house painting tips

How to paint a room if you have never painted a room before and need some help.

The beauty of painting your space is that it allows it to become your own. However, if you’ve never painted before, you might be unsure where to start.

Prepare Your Space

First, you need to prepare your space for the job. Painting can be messy and if you have unnecessary things lying around you can risk wasting something you value with paint that does not come off. The most important house painting advice is to remove all the furniture in the room you are painting. Move the furniture into another part of the house. If there is furniture that cannot fit through the door, place it in the middle of the room and away from the walls, and cover it with a nylon cloth for protection.

Protect your floor from spilled paint by using professional drop cloths on the entire surface. Remove everything hanging from the wall so you can cover the whole wall. Before painting, make sure that you have thoroughly cleaned the walls with a solution of water and a mild detergent. This will ensure that you get a smoothly painted surface after you are finished.

You can also find us at the following places for more information.

Choose Your Paint Color

The key to a successful paint project is choosing the perfect color. Color is very important because it interacts with your mood. Think about the way you view colors and what kind of a mood certain colors evoke. Depending on the purpose of the space, consider the following colors.

Read more

Safe Painting On Ladders

painting exterior on ladders

Some homeowners want to paint their home’s exterior, but the thought of working on ladders is enough to make them cringe, and they end up putting it off or hiring a professional. Painting at heights can be a daunting task, and it is a good idea to leave this job to a professional painter, or at least let them take care of the high soffits and roof areas.

This can be hazardous work and requires skill using ladders and sometimes even a harness system, as well as steady nerves. But if you are set to tackle this project on your own, there are important guidelines one should know to be successful and not end up on a stretcher! This article will discuss the methods of safe and effective exterior painting on ladders, so that you can paint your two- or even three-story home on your own.

The first step is to obtain the right equipment. This means a tradesman and fully functional ladder. Don’t borrow just any old ladder; you need it to function properly. Ladders are rated which indicate their durability in increasing order.

Grade-3 ladders are homeowner grade, and they can be quite narrow and are not advisable if working higher than 20 feet off the ground. Grade 1A ladders are very rigid, but the downside is that they are heavier, which can cause safety issues when moving the ladder. In most cases, you want grade 2 for painting; they are robust, rated at 225 pounds, and will also be light enough to maneuver safely.

You can rent ladders if necessary; you’ll need a 28′ or longer for many two-story homes to reach the second-story soffits, and third-story areas will require a 32′ or a 40′ ladder. It is usually more cost effective to buy a ladder or two, since you won’t be rushed this way, and you are saving lots of money anyway by doing this job yourself. For lower areas, you want a shorter ladder. Some of the most versatile are called “3-way” ladders, which can be set up as an A-frame, or a small extension ladder, which makes reaching various first story house extremities easier.

Read more over here.

https://youtu.be/WJkOgHw2MOQ

Tips For Painting A Roof

painting a roof

Painting a roof can vary slightly depending on what material your roof is made of but there is one thing they all have in common and that is they must be cleaned before you apply any paint.

How To Clean A Roof

Depending on your budget and what you have available to you will depend on how you clean your roof. Using a high pressure water blaster is one of the best ways to clean a roof, specially any roof with a rough surface. You can use a broom and hose but you will need some type of chemical to help remove the mould from within the pores of the surface. This is where high pressure is good, it does get into all those nooks and crannies.

A roof with a smooth surface such as galvanised iron could be washed much easier with a boom, some detergent and a hose to wash it off after. High pressure is also good to use but it is not as important to use on smooth surfaces.

How To Paint A Corrugated Iron Roof

If you are painting a new iron roof you will need to wash it with a degreaser before you start unless the roof is more then a year old and has weathered. This means that the oil from fabrication has worn away and the iron has been slightly etched through weathering.

With unpainted iron you will need to prime it first with a suitable primer, this is also the case for any sheets of iron that may have been replaced on an existing roof.

You will need to apply two coats of suitable paint, and the choice of colour is up to you but do remember lighter colours will reflect the heat and darker colours absorb the heat.

Airless spraying is the quickest way to paint any roof and if you decide to paint your roof this way there is a technique to applying the paint. When you are spraying you should spray about a metre wide section and work your way down the sheet, spray in the direction of the flutes in the iron. If you like you can use the joins in the iron as a guide, it is an easy way to tell exactly were you are at. Once you have worked your way down the sheet and completed that section move back to the top of the roof and repeat for next sheet of iron. You must keep a wet edge at all times and that is why you go back to the top of the roof before it starts to dry, if you decide to work back from the bottom to the top, the top part could have tacked off when you get back up there.

Read more

https://youtu.be/_d5aZos33VE

PROTECT YOUR HOME’S EXTERIOR FROM WINTER WEATHER

protect exterior of home in winter

Unfortunately, we have little control over the havoc that winter weather can wreak on our homes. In New England, homeowners see snow ranging from light and fluffy to wet and heavy, dangerous ice storms and unforgiving freezing rain.

While you cannot secure your home in a bubble for the duration of the season, you can take some simple steps to help protect the exterior of your residence all winter.

Check Your Paint

During the fall season, we can see seasonably warm temperatures before winter weather arrives. Take advantage of these mild days to get outside and inspect your home’s exterior paint job.

If you notice buckling and chipped paint or rotting wood, act now to ensure the damage does not worsen over time. Make your paint touch-ups and contact a professional to evaluate the state of the wood.

Clean the Surface

Pressure washing is popular maintenance in spring, but it should be done in the fall too. When winter arrives, you may not see your lawn, porch or fence without a pile of snow on top for several months.

If you clear away dirt and debris beforehand, you are protecting these surfaces from further contamination. For your paint in particular, it is better suited to face the elements clean than dirty.

Read more

You can also visit us here for more information:


Tips and Techniques for Antiquing Wood

Tips and Techniques for Antiquing Wood

“Aged”, “antiqued”, “distressed” … these are some of the adjectives that people use to describe how they envision the finish on their cabinets or furniture. From an artist’s perspective, these are very vague terms. They cover a full spectrum of different techniques that all fall under the generalized category of “antiquing”. There is a big difference between a little bit of color in the corners and truly “aged”.

The charm of “aging” is that it represents what happens naturally over time as previous finish treatments are exposed to different elements. For example, there is more wear around edges and handles. Dust settles low. Sun shines inconsistently on vertical surfaces and causes layers of paint to fade and split. Horizontal surfaces and corners take the brunt of the burden for scuffs and scrapes. When done correctly, these pieces actually tell a story. It is helpful to create a mental image about how the object was used or where it was as each layer and technique is applied.

It is important to define exactly how “old” you want it to look. Begin by gathering photos that will show examples of your expectations. You may already have a small piece, like a picture frame, that will provide inspiration. One client even took me outside to view her weathered shutters!

Read more here

You can also visit us here for more information: